-
-

-
- Morton
Schoolhouse Restoration News
-
-
-
-
- Interior
Plaster work.
-
-
-
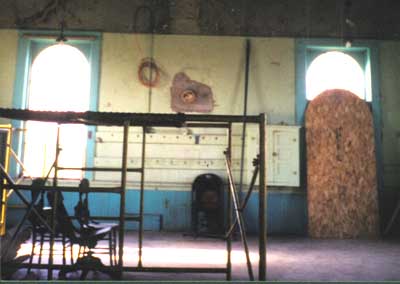
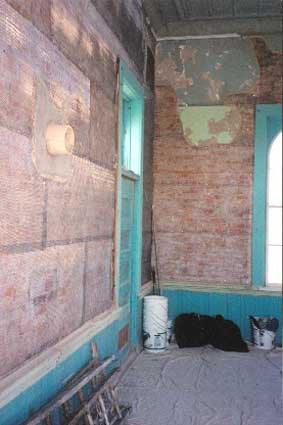
- Morton
School back wall - Fall 2001
-
- During last Fall
and some of the Winter, work had been progressing on
- the school house
interior. But as the crews were working on the brick
- exterior, the schedule
for work on the old plaster removal became
- more critical.
Once the exterior brick work was complete and the building
- became more weather
tight, the interior replastering work could begin.
-
-
-
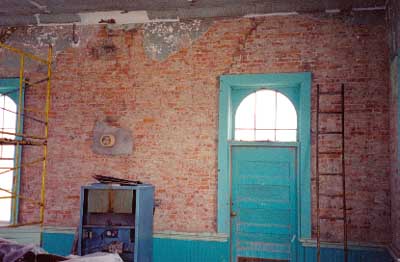
- Morton
School back wall - May 2002
-
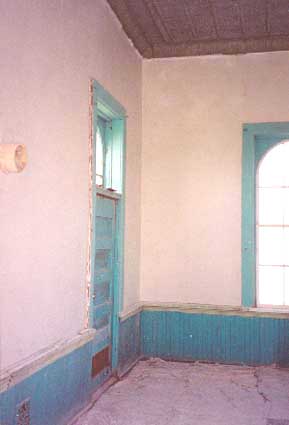
- All loose plaster
had to be removed from the interior walls so that the
- new plaster would
have a secure base to bond to. Structural cracks in the
- masonry joints
of brick wall found beneath the old horse hair plaster were
- cleaned and filled
with new mortar by the crew working on the exterior.
-
-
-
-
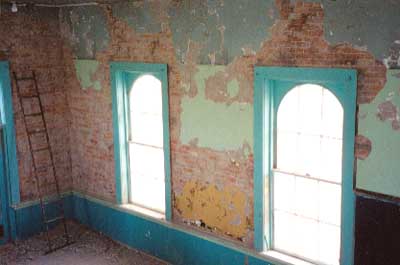
- Morton
School East wall - May 2002
-
-
- A metal lathe or
screen was applied to the surface of the newly
- exposed brick wall.
This metal screen helps anchor the new
- layers of plaster
to the brick wall beneath.
-
-
-
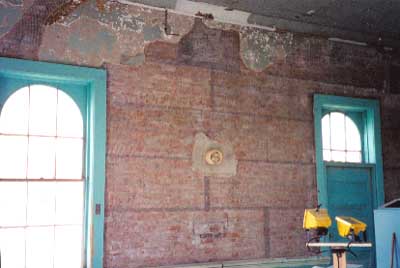
- Metal
screening applied to the back wall
-
-
- After the metal
screen has been anchored to the brick, the base coats of
- new plaster are
applied in several layers to build up the thickness to match
- the unremoved old
horse hair plaster that is adjacent to the new plaster.
-
-
-
- Morton
Schoolhouse Northeast corner
-
-
- When the base coats
of plaster have been applied to the same thickness of
- the surrounding
old plaster, an adhesive is applied to all the old plastered
- surfaces and several
more layers of top coat are then applied to the entire
- wall. The above
picture shows the area of the back door with metal
- screening applied
and then again after the last of the top coats have
- been applied.
-
-
-
- Back
wall (after top coats have
been applied)
-
-
- East
Wall (after top coats have
been applied)
-
-
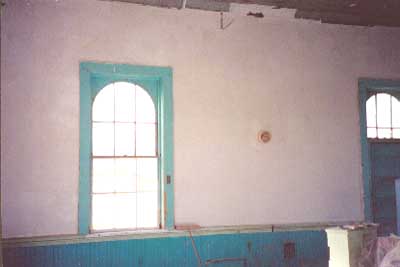
- The
plastering was completed by the end of May, 2002 and
- it
will take approximately 4 weeks before the plaster has dried
- sufficiently
for painting. It grows lighter as it dries and seems
- to
make the schoolhouse even more inviting.
-
- Thank
you to Miller's Plastering for a fine job!!!
-
-
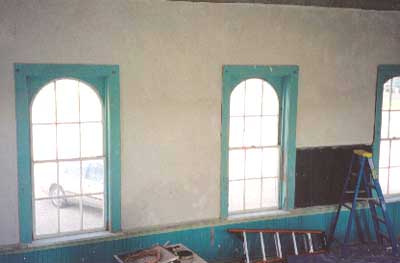
- Work
continues in preparation for the painting that
- will
occur shortly. The ceiling requires a bit more attention,
- and
base boards, trim, and wainscoting will need some final
- touch
up before the painting begins.
-
-
-
-
-
- The next
step is: painting the ceiling. . . .
If
you have additional information that you would like to add to
this page, we
- would
be happy to hear from you. Please email us!!

Copyright
© 2000 - 2018